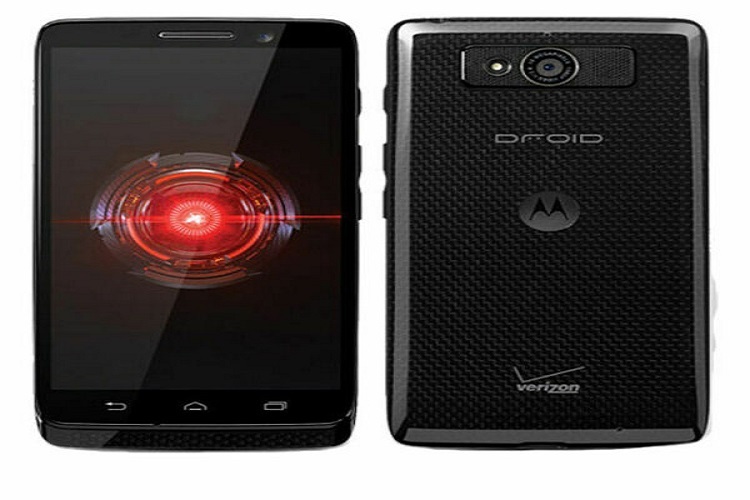
Restoring Verizon DROID MAXX (XT1080) to the stock factory firmware is an attempt to make our device back to life from a soft brick, this procedure also automatically makes our smartphone unrooted with stock recovery. So for those who have some issues with their devices due to frequent software mod, such as a problem when an updating to the official OTA, then restore the device software to its original state is a must be done action.

Many of the methods that can work well in order to make our DROID MAXX back to stock, one of which is by flashing a fxz/stock shipped firmware file by using RSD Lite. The RSD Lite is a desktop app that can only be run on Windows PC/Notebook, when your device is connected to this app we can flash a firmware file, the flashing process will replace almost all of the files needed by our device to operate including firmware, kernel, bootloader, radio, etc.
Not only for bricked device, the DROID MAXX user have to unroot or back to stock if they want to get the latest official update from Motorola, as you may know if our phones are rooted or running a custom ROM, the update installation process will be failed and might result in more serious issues. Here is a common procedure to perform this with RSD Lite:
- Set up device drivers for MAXX for our Windows PC, let Motorola Device Manager handle the installation.
- Get the RSD Lite flash tool here and install it, try to get the latest version if you are experiencing a failure, then you can utilize an older version.
- Grab the DROID MAXX (XT1080M) stock factory firmware from here, the file size is fairly big around 700MB, packed in zip format. Once the download is completed, now extract the firmware by using 7zip or other tool.
- Open the extracted folder, locate a file with xml extension and open it with a text editor such as Notepad. You will see a lot of command line there, remove any line that has a ‘getvar’ command (ex: step operation=”getvar” var=”max-download-size“), then save the XML file.
- Open the RSD Lite, hit the three dots button next to Start then point to modified xml file.
- Now put your phone in AP Fastbot mode, so RSD Lite can recognize the smartphone.
- Connect the phone to PC through USB cable, it’s recommended to use the stock USB cable and to avoid using a USB hub and a USB 3.0 slot.
- Hit the ‘Show Device’ button, when the device is detected by the RSD, you will see the status of your phone at the bottom of the column, your phone in most cases detected on Port 1. Click the port and you will see the information in the ‘Device Properties’ column.
- Now it’s time for flashing, just hit the ‘Start’ button.
The flashing process lasted for about 20 minutes, so you have to be a little patient. Once the process is completed, your smartphone will restart by itself, once fully boot up your DROID MAXX was back to stock to the original state without root or other modifications.

