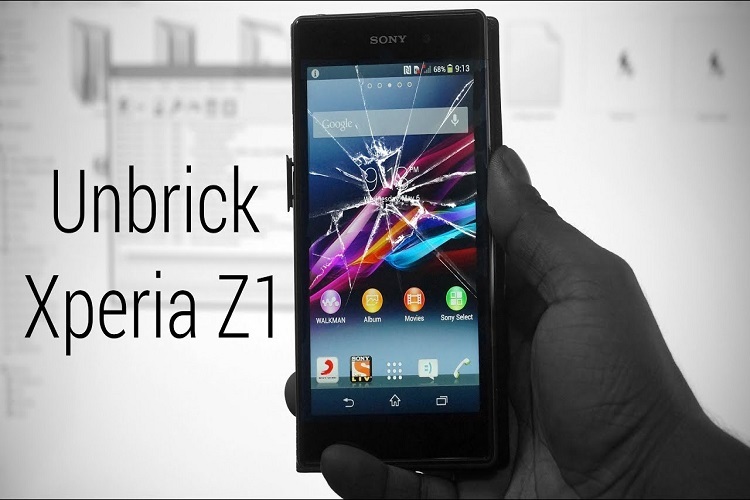
So, you messed up your brand new smartphone when trying to root or flashing custom ROMs? Don’t be concerned you can still unbrick, restore to stock and unroot Xperia Z, so that your phone appears like brand new and has never been modified. All changes you have done on your phone will be lost, such as binary root, custom ROM and custom recovery. However for those who have unlocked bootloader, flash stock firmware won’t be able to relock your device bootloader.

Restore your device to stock is also useful if you want to bring your device to Sony for a warranty claim, since there’s a chance that Sony rep would refuse when your phone is rooted or running custom ROMs. In addition, if you were planning to sell the Xperia Z someday, return it to stock condition is also necessary, due to the fact most potential buyers usually would like a device without any modification.
If you imagine the unbrick, restore to stock or unroot Xperia Z process were complicated, you might be wrong, considering that we only need a software called Flashtool on PC Windows/Mac/Linux.
- Grab Flashtool by Androxyde officially from his site, make sure you get the latest version since it has several bug fixes and compatible with latest Xperia devices.
- Set up device drivers for Xperia Z from Sony or PC Companion, you can also find it in Flashtool installation folder (C:\Flashtool\drivers\flashtool-Drivers.exe).
- Now we need to grab the stock firmware, make sure to pick the correct device models, a wrong firmware might lead to soft-bricked devices. Following that copy the firmware files (.ftf) on a flashtool directory (C:\Flashtool\firmwares).
- Turn off your Xperia Z and then enter into flash mode by press and hold the volume down button + power button together, followed by attaching it to PC thru USB.
- Now run the flash tool, in case you are running this software from a 64bit machine, just pick the Flashtool64.
- Once flashtool window show up, click on lightning icon, on mode selector choose Flash mode.
- From that point Firmware selection window will appear, select a firmware on the left column. Notice the right column, there is a Wipe, Exclude and Misc options. Based on previous experience on restoring and unrooting Xperia device, we should check all wipe options and uncheck every exclude options.
- Hit the OK button then flashing process should start, look carefully, you might notice an error message while the flashing process takes place. Once done the phone will reboot on its own.
- Soon after flashing successful, our Xperia Z has been returned to stock and unrooted.

